
This is Part 1 of the Codex CLI series. We’ll cover installation, authentication, and your first session. Future posts will explore workflows, best practices, and advanced features.
Introduction
Today I want to introduce you to Codex CLI—a tool that has genuinely changed how I work with both code and writing.
If you have ever wished you could have an AI assistant that actually understands your project, can read your files, and help you make changes right from your terminal, Codex CLI is exactly that. It is not just another chatbot; it is designed to work inside your repository, understanding your code structure and helping you improve it safely.
In this series, I will walk you through everything you need to know to use Codex CLI productively. Today’s post covers the fundamentals: what it is, how to install it, and how to take your first steps safely.
What Is Codex CLI?
Before we jump into installation, let me explain what Codex CLI actually is and why it is different from using ChatGPT in a browser.
The Core Concept
Codex CLI is a coding agent that runs locally in your terminal. When you start it in a project directory, it can:
- Read all the files in that directory
- Understand your project structure
- Propose changes to files
- Run commands (with your approval)
- Show you diffs before applying changes
Think of it as having an experienced developer pair-programming with you, but one who works incredibly fast and has read your entire codebase.
How It Differs from ChatGPT
Here is a helpful comparison:
ChatGPT in a browser:
- Great for discussing ideas and getting code snippets
- You copy and paste code back and forth
- It does not know about your actual project files
- Every conversation starts fresh
Codex CLI:
- Understands your entire repository context
- Can directly edit your files (with approval)
- Can run tests and commands in your environment
- Maintains conversation history across sessions
The key difference is context and action. Codex CLI sits next to your actual code and can help you work with it directly.
The Safety Model
Here is what I appreciate most: Codex CLI is built with safety guardrails. By default, it asks for permission before:
- Editing files
- Running commands
- Making network requests
You control how much autonomy to give it through “approval modes” (which I will explain in Part 2). This means you can start conservatively and gradually trust it more as you become comfortable.
Installation Guide
Codex CLI works on macOS, Linux, and Windows. The installation method varies slightly by platform, so I will walk through each one.
Prerequisites
Before installing, you need:
- Node.js (if using npm installation)
- Terminal/Command line access
- An OpenAI account (ChatGPT subscription or API access)
macOS Installation (Apple Silicon and Intel)
Mac users have two options: Homebrew (easiest) or npm (universal).
Option 1: Homebrew (Recommended)
If you use Homebrew, this is the simplest path:
# Install Codex CLI
brew install --cask codex

# Verify installation
codex --version

# Launch it
codex
Why this works well: Homebrew handles all dependencies and keeps Codex updated automatically when you run brew upgrade.
Option 2: npm
If you prefer npm or already manage tools through Node:
# Install globally via npm
npm install -g @openai/codex

# Verify installation
codex --version

# Launch it
codex
When to use this: If you manage development tools through npm or want consistent installation across all your machines.
My Codex CLI version that I have used to write this post is:
codex-cli 0.87.0
Linux Installation
Linux users have npm as the primary method, with manual binaries as an alternative.
npm Installation (Recommended)
# First, ensure you have Node.js installed
# Ubuntu/Debian:
sudo apt install nodejs npm

# Fedora:
sudo dnf install nodejs npm

# Arch:
sudo pacman -S nodejs npm

# Install Codex CLI globally
npm install -g @openai/codex

# Verify installation
codex --version
Manual Binary Installation
This is useful for CI/CD environments or systems where npm is not available:
- Download from GitHub releases
- Choose
codex-linux-x64for Intel/AMD - Choose
codex-linux-arm64for ARM
- Choose
- Extract and install:
# Example for x64
wget https://github.com/openai/codex/releases/download/vX.X.X/codex-linux-x64.tar.gz
tar -xzf codex-linux-x64.tar.gz

# Move to a directory in your PATH
sudo mv codex /usr/local/bin/

# Make executable
sudo chmod +x /usr/local/bin/codex

# Verify
codex --version
Windows Installation (WSL2 Recommended)
For Windows users, I strongly recommend using WSL2 (Windows Subsystem for Linux). While Codex can run natively on Windows, WSL2 provides better performance and fewer compatibility issues.
Why WSL2?
WSL2 gives you a Linux environment on Windows with:
- Better file operation performance
- Fewer permission issues
- Compatibility with Linux development tools
- More predictable behavior
Setting Up WSL2
If you do not have WSL2 yet:
-
Open PowerShell as Administrator
-
Install WSL2:
# Install WSL2 and Ubuntu
wsl --install

# Restart your computer when prompted
-
After restart, open WSL (it will finish setup automatically)
-
Install Node.js in WSL:
# Install nvm (Node Version Manager)
curl -o- https://raw.githubusercontent.com/nvm-sh/nvm/master/install.sh | bash

# Close and reopen your terminal, then:
nvm install 22

# Verify
node --version
npm --version
- Install Codex CLI:
npm install -g @openai/codex

# Verify
codex --version
Important WSL Best Practice
Keep repositories in your Linux home directory (~/code/myproject), not under Windows paths (/mnt/c/Users/...).
Why? File operations are significantly faster, and you avoid permission and line-ending issues.
# Good: Fast and reliable
mkdir -p ~/code
cd ~/code

# Avoid: Slower, potential issues
cd /mnt/c/Users/YourName/Documents/code
Tip: You can still access WSL files from Windows Explorer by typing \\wsl$\Ubuntu in the address bar.
Authentication
Now that Codex is installed, you need to authenticate with OpenAI.
Two Sign-In Methods
Method 1: ChatGPT Subscription
If you have a ChatGPT Plus, Pro, or Team subscription:
# Start Codex
codex

# It opens your browser for authentication
# Log in with your ChatGPT account
# The CLI receives the token automatically
When to use: If you already pay for ChatGPT and want Codex included in your subscription. Simplest for individual developers.
I am personally using this method at the moment.
Method 2: API Key
If you have an OpenAI Platform account:
# Set your API key
export OPENAI_API_KEY=sk-...

# Or configure during login
codex auth login --api-key
When to use: If you use OpenAI APIs for other projects or prefer usage-based billing.
Credential Security
Codex stores credentials locally. Understanding where helps you keep them secure:
Storage options:
file: Plain text in~/.codex/auth.json(simple but less secure)keyring: OS credential manager (more secure - uses Keychain on Mac, Credential Manager on Windows)auto: Prefers keyring when available, falls back to file
Configure storage:
# Check current setting
codex config show

# Use OS keyring (recommended)
codex config set auth.storage keyring
Security tip: Treat ~/.codex/auth.json like a password. Never commit it to git, never share it. Add it to your global gitignore:
echo ".codex/" >> ~/.gitignore_global
git config --global core.excludesfile ~/.gitignore_global
Your First Session
Let me walk you through your very first Codex session step by step.
Starting Codex
Navigate to a project (start with something small and non-critical):
# Go to a test project
cd ~/code/test-project

# Start Codex
codex
You will see the Codex interface open in your terminal. It is a full-screen terminal UI where you can interact with the AI.
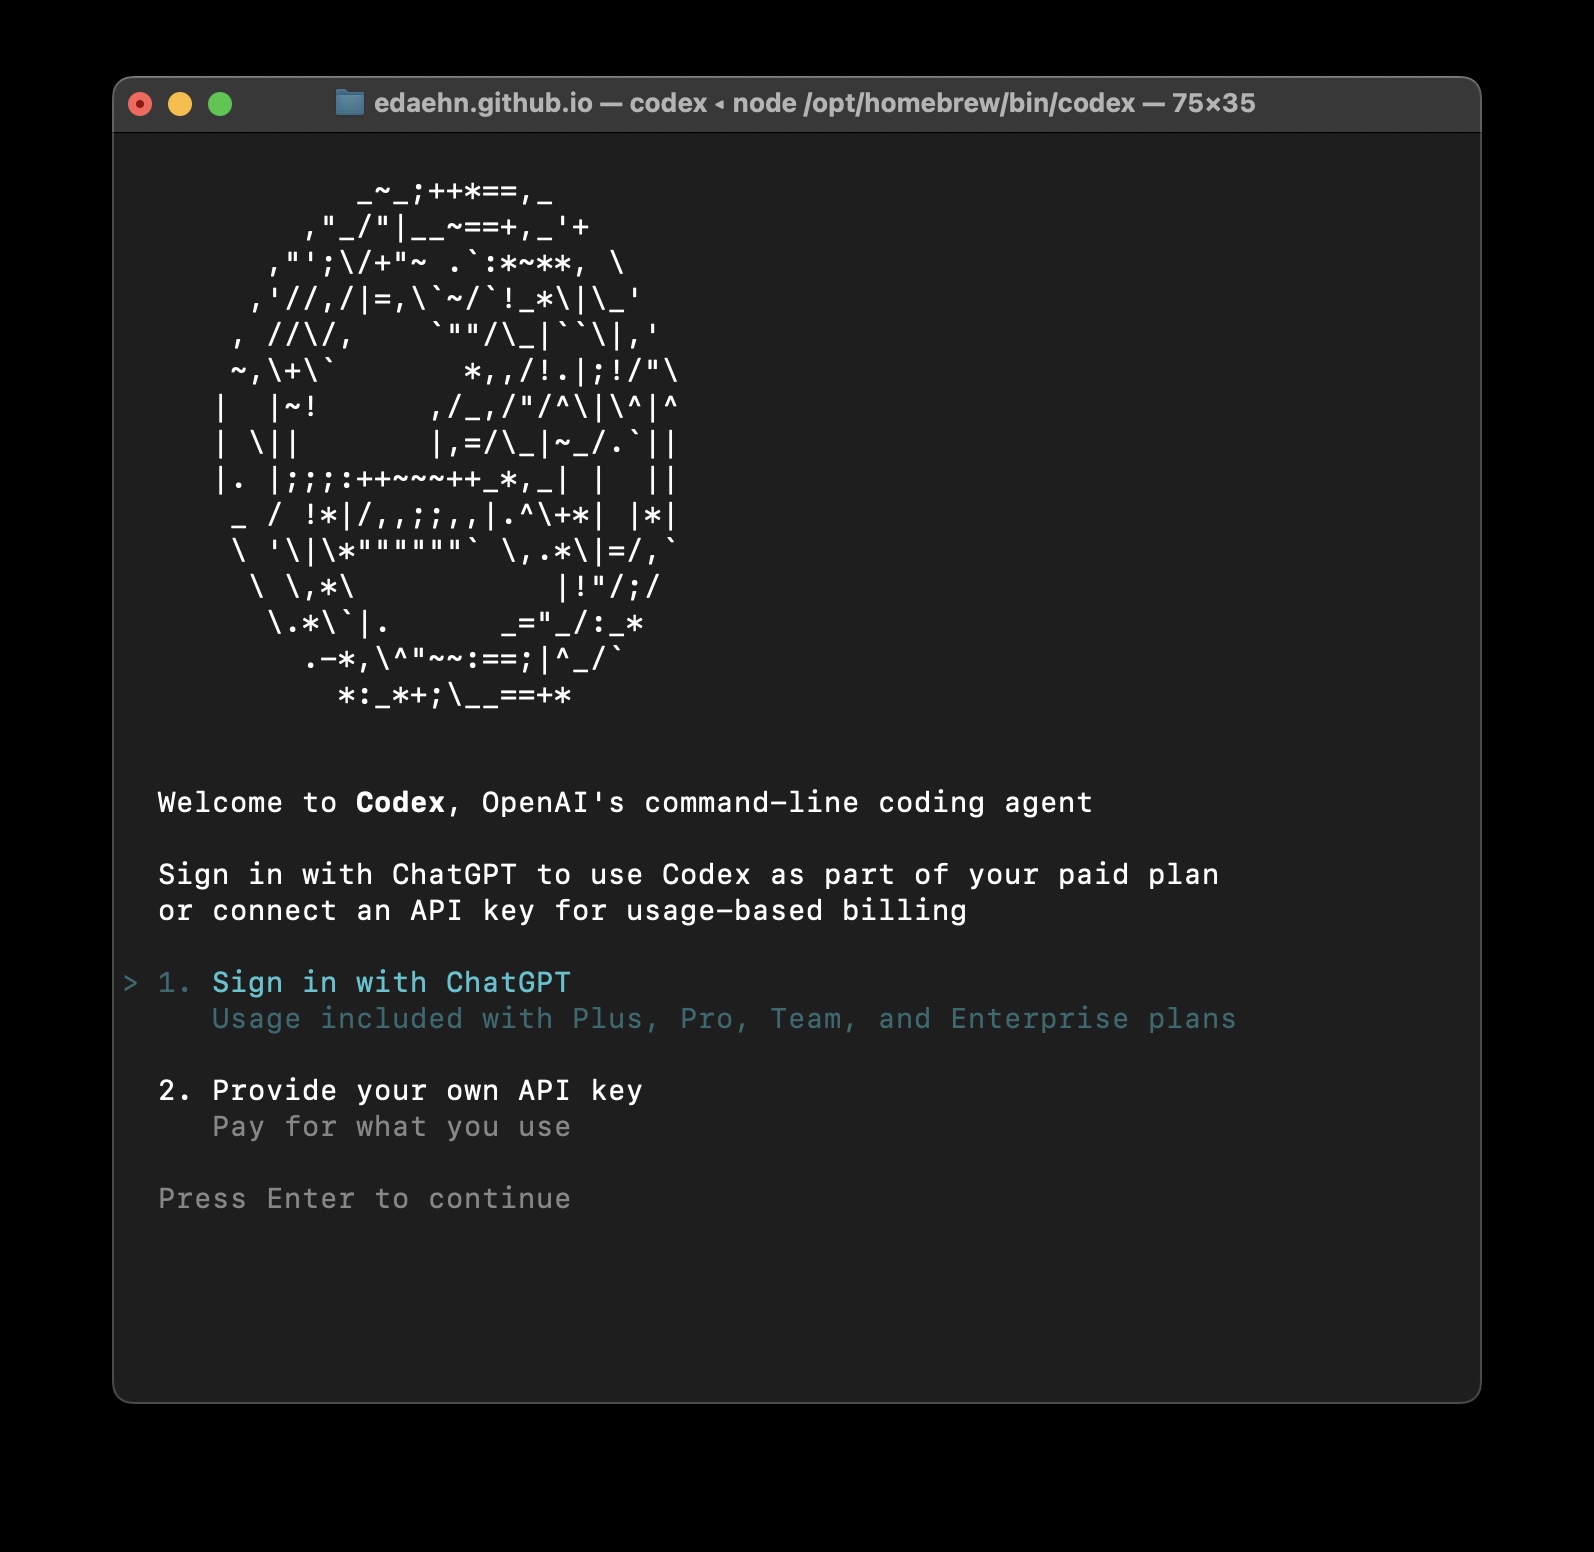
Codex CLI in terminal screenshot
Your First Prompt: Explore Safely
For your first session, I recommend starting with read-only exploration:
# In the Codex session, type:
/approvals read-only
This sets Codex to read-only mode—it can analyze and explain, but cannot change anything. This is the safest way to explore.
Now ask it to explain your project:
Explain this codebase. Start with the folder structure, then describe what this project does.
What happens:
- Codex reads your repository
- Analyzes the structure
- Gives you a clear explanation
This is brilliant for understanding unfamiliar code or getting a fresh perspective on your own projects.
Understanding the Interface
The Codex CLI interface has a few key elements:
The prompt area: Where you type your requests
The response area: Where Codex shows its analysis and proposals
Status indicators: Show current mode, model, and other settings
Slash commands: Special commands starting with / (we will cover these in Part 2)
Using AGENTS.md
In AGENTS.md you can write your project description and which tools to use. When you run your first prompt, Codex CLI uses AGENTS.md to understand the project as a context for your prompt. For example, for creating my blog drafts, I have written a complete description of in which folders I want to place my drafts, which scripts I want to run for web search or image generation, and in which order.
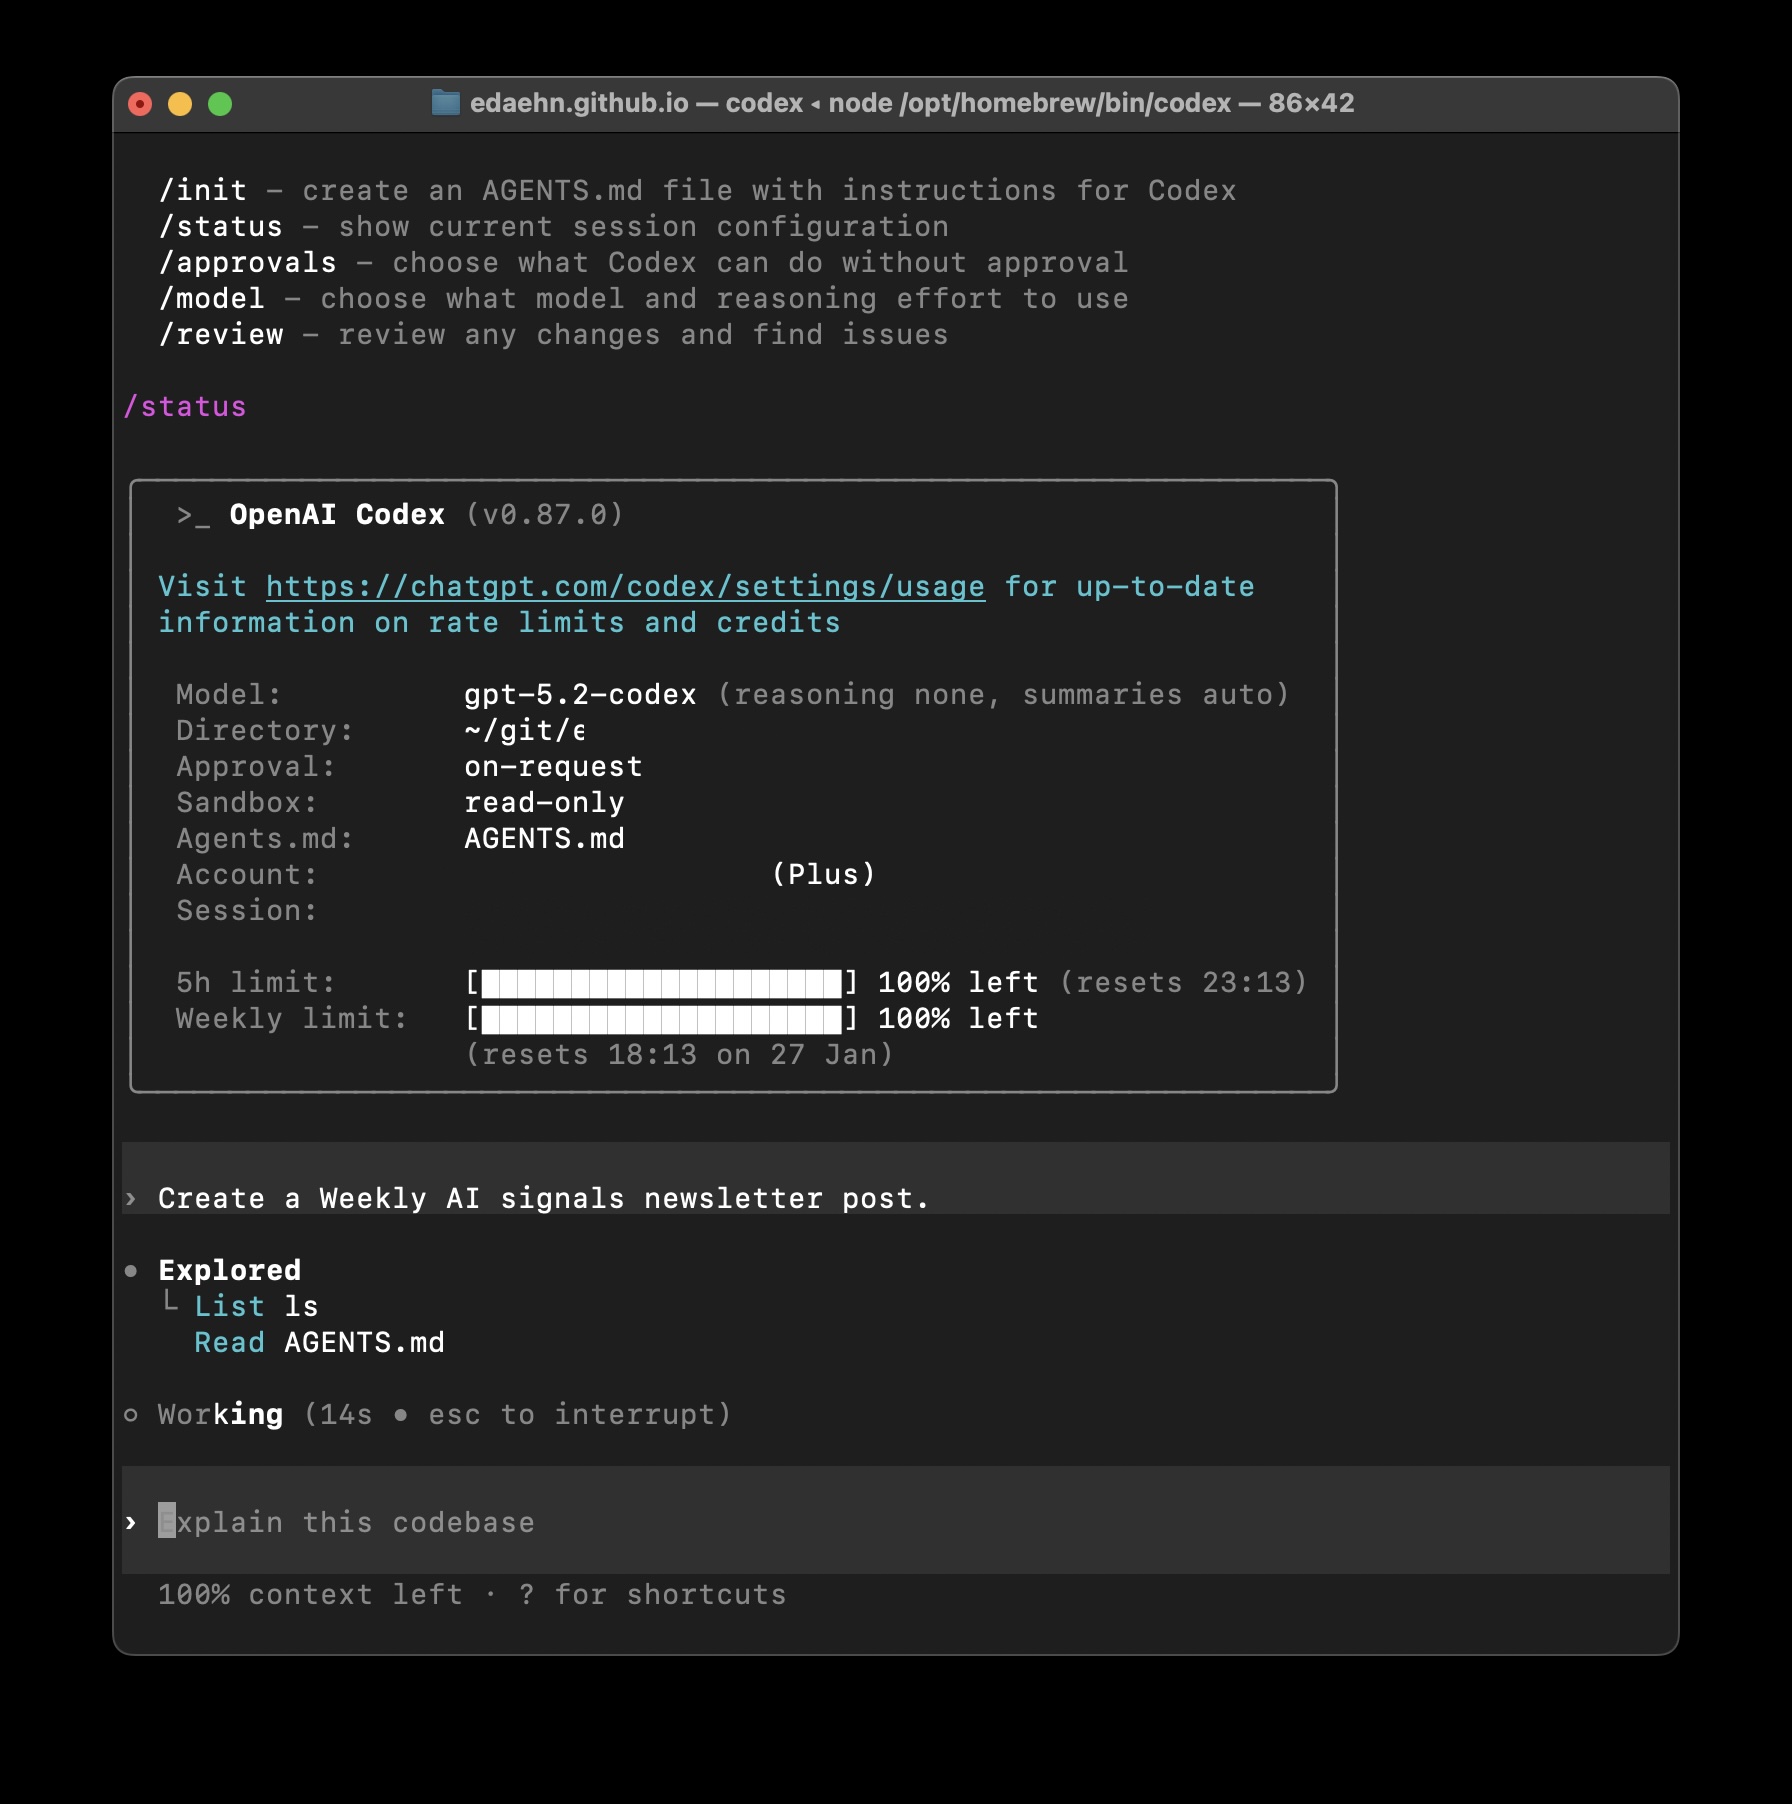
Codex CLI with project description in AGENTS.md
The prompt is written in human langauge, and you basically communicate with Codex CLI while refining and executing your tasks. You can even ask Codex CLI to update your AGENTS.md in accord with your changed requirements or new script paths.
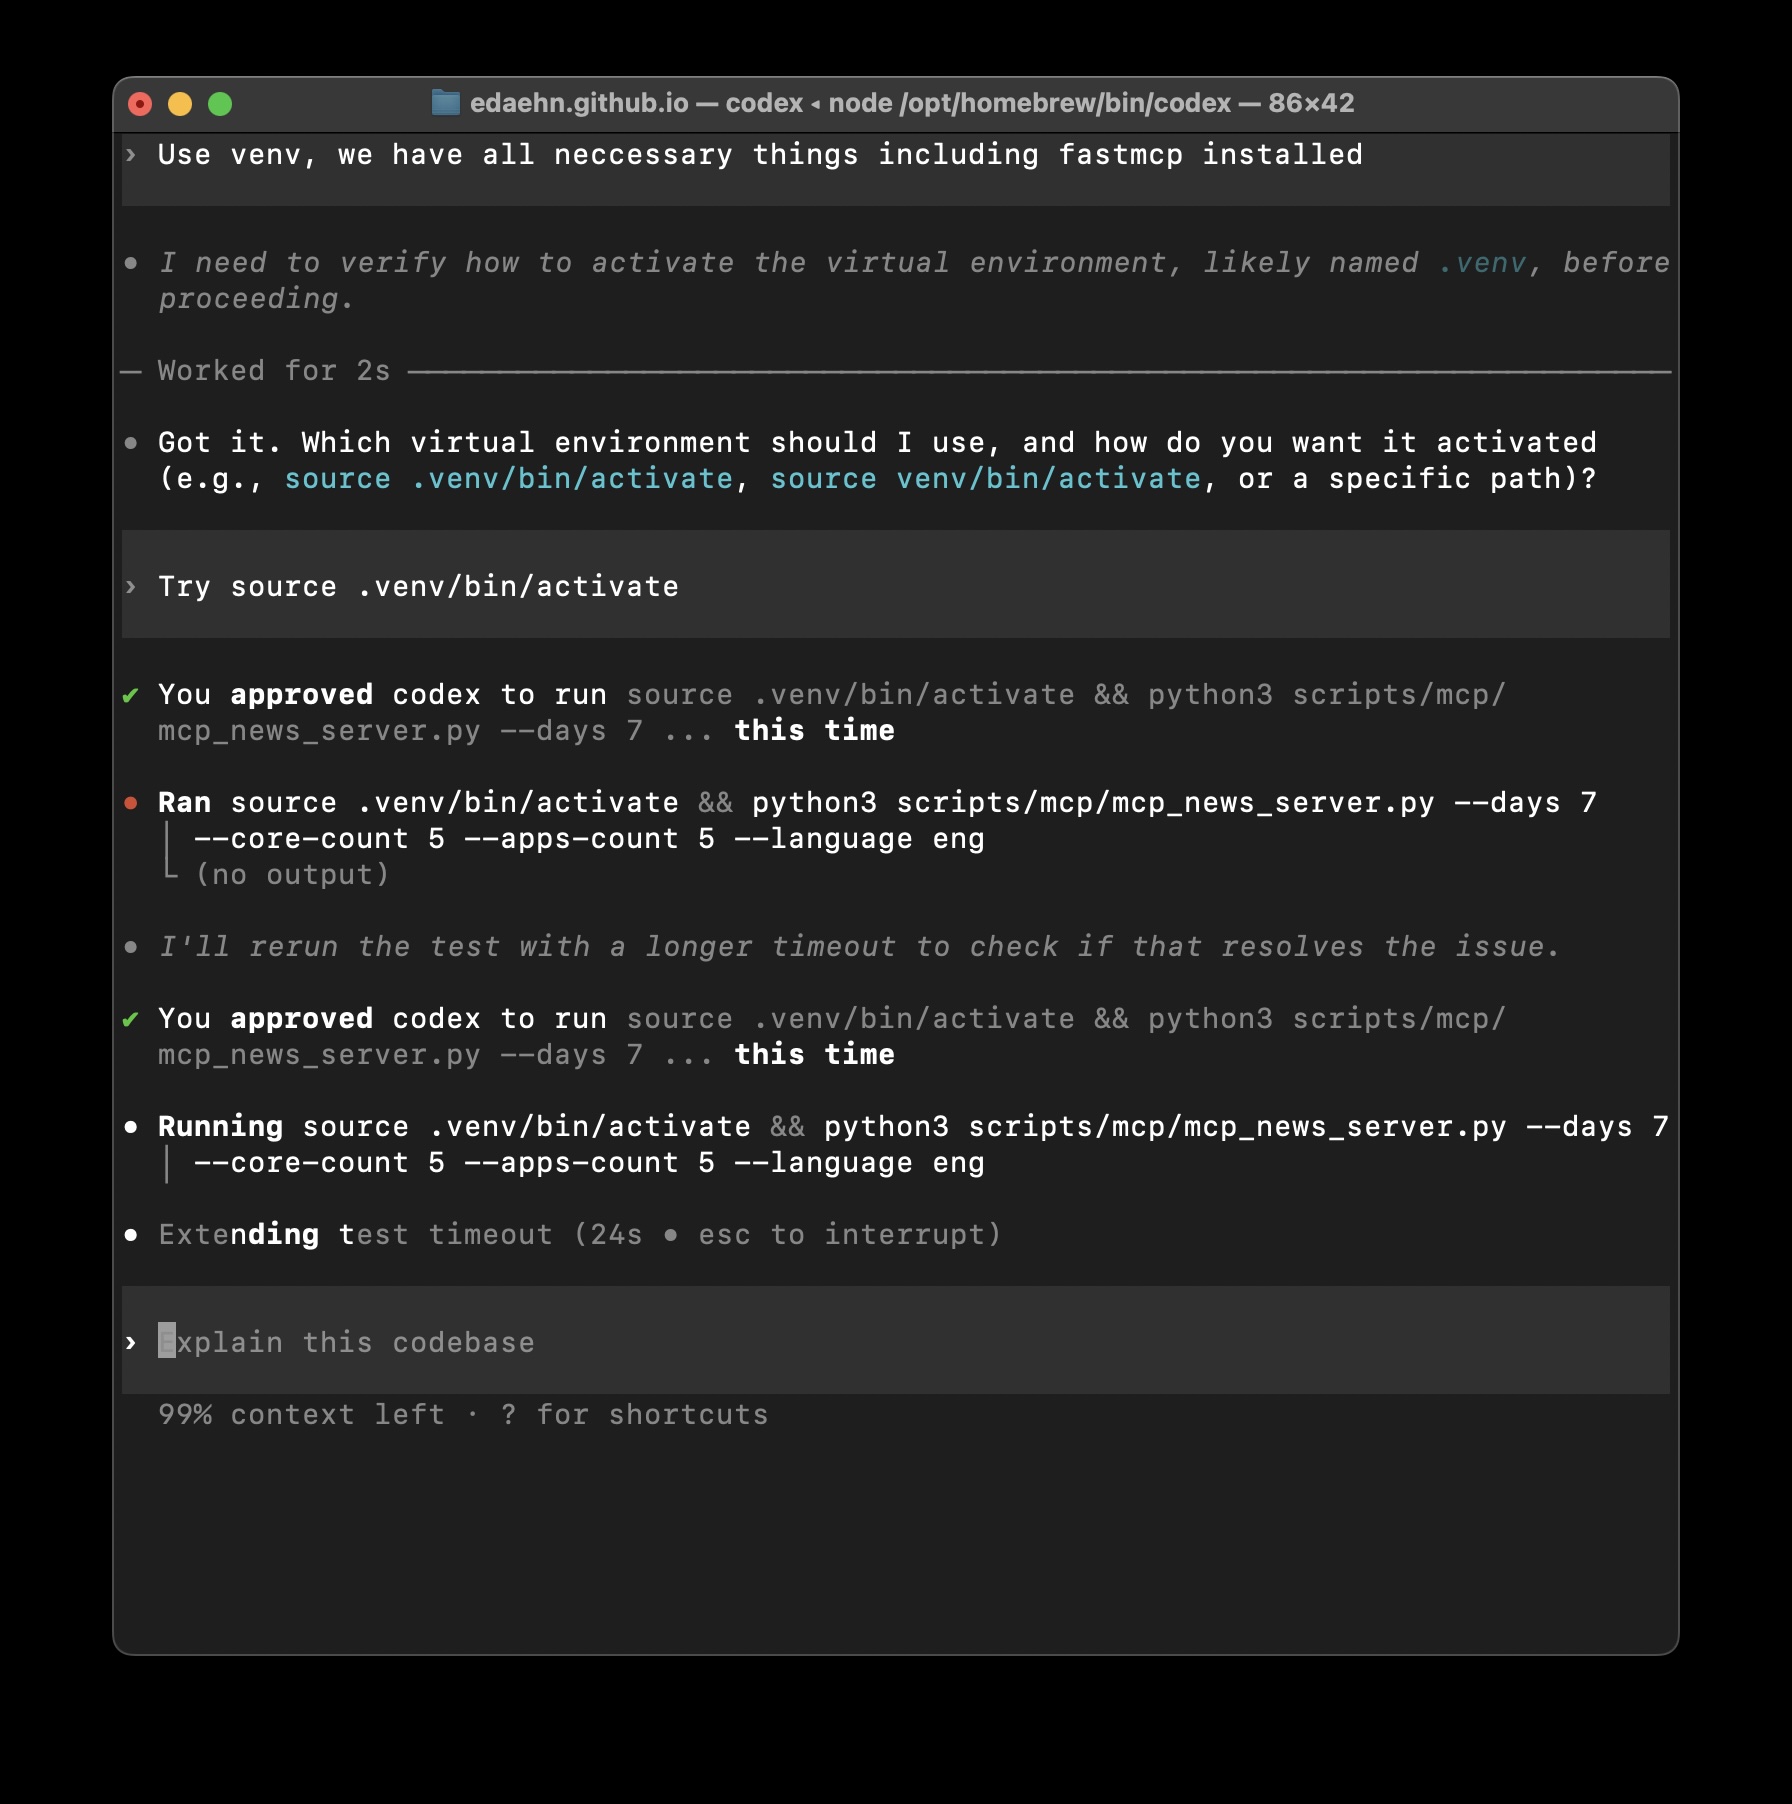
Codex CLI is running my MCP server script to retrieve recent news on AI
In my GitHub repository, I have a couple of scripts that Codex runs for me. The images and thumbnails are generated automatically. When the images are generated, their links are automatically included into my blog post drafts, and I don’t need to worry about wrong paths :)
The only little issue is that you have to refine your AGENTS.md, prompts and scripts to be further reused any time.
I love this workflow, it saves so much of time.
Exiting Codex
When you are done exploring:
# Press Ctrl+D
# Or type:
/exit
Your conversation is saved automatically. You can resume it later (which I will show you in Part 2).
What to Try Next
Now that you have Codex installed and have completed your first session, here is what I recommend exploring before the next post in this series:
This Week’s Homework
- Install Codex on your preferred platform
- Authenticate with your preferred method
- Start a session in a small project
- Set it to read-only with
/approvals read-only - Ask for explanations: “Explain this file,” “What does this function do?”
- Exit and explore a different project
The goal is to get comfortable with the interface and understand how Codex reads and interprets your code—without making any changes yet.
What’s Coming Next
In Part 2 of this series, I will cover:
- Approval modes in detail (read-only, auto, full access)
- Essential slash commands (
/diff,/review,/model) - Making your first safe edits
- Reviewing changes before accepting them
- Best practices for staying in control
In Part 3, we will explore:
- Practical workflows for blogging
- Python development workflows
- Debugging and refactoring
- Working with tests
In Part 4, we will cover:
- Advanced features and automation
- Common pitfalls and troubleshooting
- Custom configurations
- Integration with your existing tools
Closing Thoughts
What I have learned from Codex CLI is that the best AI tools do not try to replace you—they amplify what you already do well. The key is starting conservatively and building trust gradually.
For now, focus on exploration. Get comfortable with the interface, try asking questions about your code, and see how Codex analyzes your projects. In the next post, we will start making actual changes—but safely, with full control and visibility.
I hope this introduction helps you get started with Codex CLI. If you install it and explore this week, you will be ready to dive into the practical safety controls in Part 2.
Happy exploring!
Did you like this post? This is Part 1 of a 4-part series on Codec CLI.
