
How to Install TensorFlow on M1 macOS Monterey
TensorFlow is an open-source machine learning library created by Google Brain for building and training deep neural networks. I chose TensorFlow because it is robust, efficient, and integrates natively with Python. Installing TensorFlow on Apple Silicon (M1) requires Apple’s arm64-native packages — tensorflow-macos and tensorflow-metal — rather than the generic pip install tensorflow build, which is not optimized for the M1 architecture.
This guide installs Xcode, Homebrew, Miniforge (Conda), TensorFlow, and Jupyter on M1 macOS Monterey, then benchmarks CPU versus GPU training on the MNIST dataset.
Installing Xcode Command Line Tools on M1
I had a new computer, so I started by downloading and installing Xcode from the App Store, which provides the compilers and command line tools required to build native arm64 packages.
Installing Homebrew on Apple Silicon
We can download Homebrew from https://brew.sh or by running the command:
/bin/bash -c "$(curl -fsSL https://raw.githubusercontent.com/Homebrew/install/HEAD/install.sh)"
Installing Miniforge and Conda for arm64
When doing data science, I usually use Anaconda for managing libraries. This is why I installed Miniforge to access Conda by downloading the Miniforge3-MacOSX-arm64 build from Miniforge Releases. The arm64 build is required on M1 — the x86_64 installer runs under Rosetta and will not give native performance. Installation requires running a bash file and adding Miniforge to the system path (when it prompts yes|no, type yes to add Conda to the PATH).
cd ~/Downloads
/bin/bash Miniforge3-MacOSX-arm64.sh
echo $PATH
Installing tensorflow-macos and tensorflow-metal in Conda
Next, we create a new Conda environment and install the TensorFlow base package plus the tensorflow-metal GPU plugin. The tensorflow-deps package pulls Apple’s arm64-native dependencies, tensorflow-macos is the core framework, and tensorflow-metal is the PluggableDevice plugin that enables M1 GPU acceleration via Apple’s Metal API:
# Create a new environment, called tensorflow_m1:
conda create --name tensorflow_m1 python==3.9
# Activate
conda activate tensorflow_m1
# Then, install dependencies
conda install -c apple tensorflow-deps
# Install the core and metal plugin for TensorFlow with pip
pip install tensorflow-macos
pip install tensorflow-metal
Additionally, we can install JupyterLab, matplotlib, pandas, and scikit-learn:
conda install -c conda-forge jupyter jupyterlab
conda install matplotlib
conda install pandas
conda install scikit-learn
Testing TensorFlow GPU vs CPU on the MNIST Dataset
Since macOS M1 has GPU support, I am going to test the TensorFlow running on GPU and CPU devices. For this, I used the MNIST digits classification dataset for training a Sequential neural network model.
# Importing libraries
import pandas as pd
import numpy as np
import tensorflow as tf
import keras
# Importing required functionality
from keras.models import Sequential
from keras.layers import Flatten, Dense, Dropout, Dense
# Loading and preparing data
mnist = tf.keras.datasets.mnist
(x_train, y_train), (x_test, y_test) = mnist.load_data()
x_train, x_test = x_train / 255.0, x_test / 255.0
Notice, when we create the Sequential model, we use the Flatten layer with the input shape of 28x28 because initially, MNIST dataset contained digit images in this format. The network has one Dense layer of 128 neurons with ReLU activation function, one Dropout layer to deal with overfitting, and a Dense output layer with 10 neurons.
# Creating sequencial model
model = Sequential([
     Flatten(input_shape=(28, 28)),
     Dense(128, activation='relu'),
     Dropout(0.2),
     Dense(10),])
# Loss function
loss_fn = tf.keras.losses.SparseCategoricalCrossentropy(from_logits=True)
# Compile the model with the defined loss function, Adam optimiser and accuracy metric
model.compile(optimizer='adam', loss=loss_fn, metrics=['accuracy'])
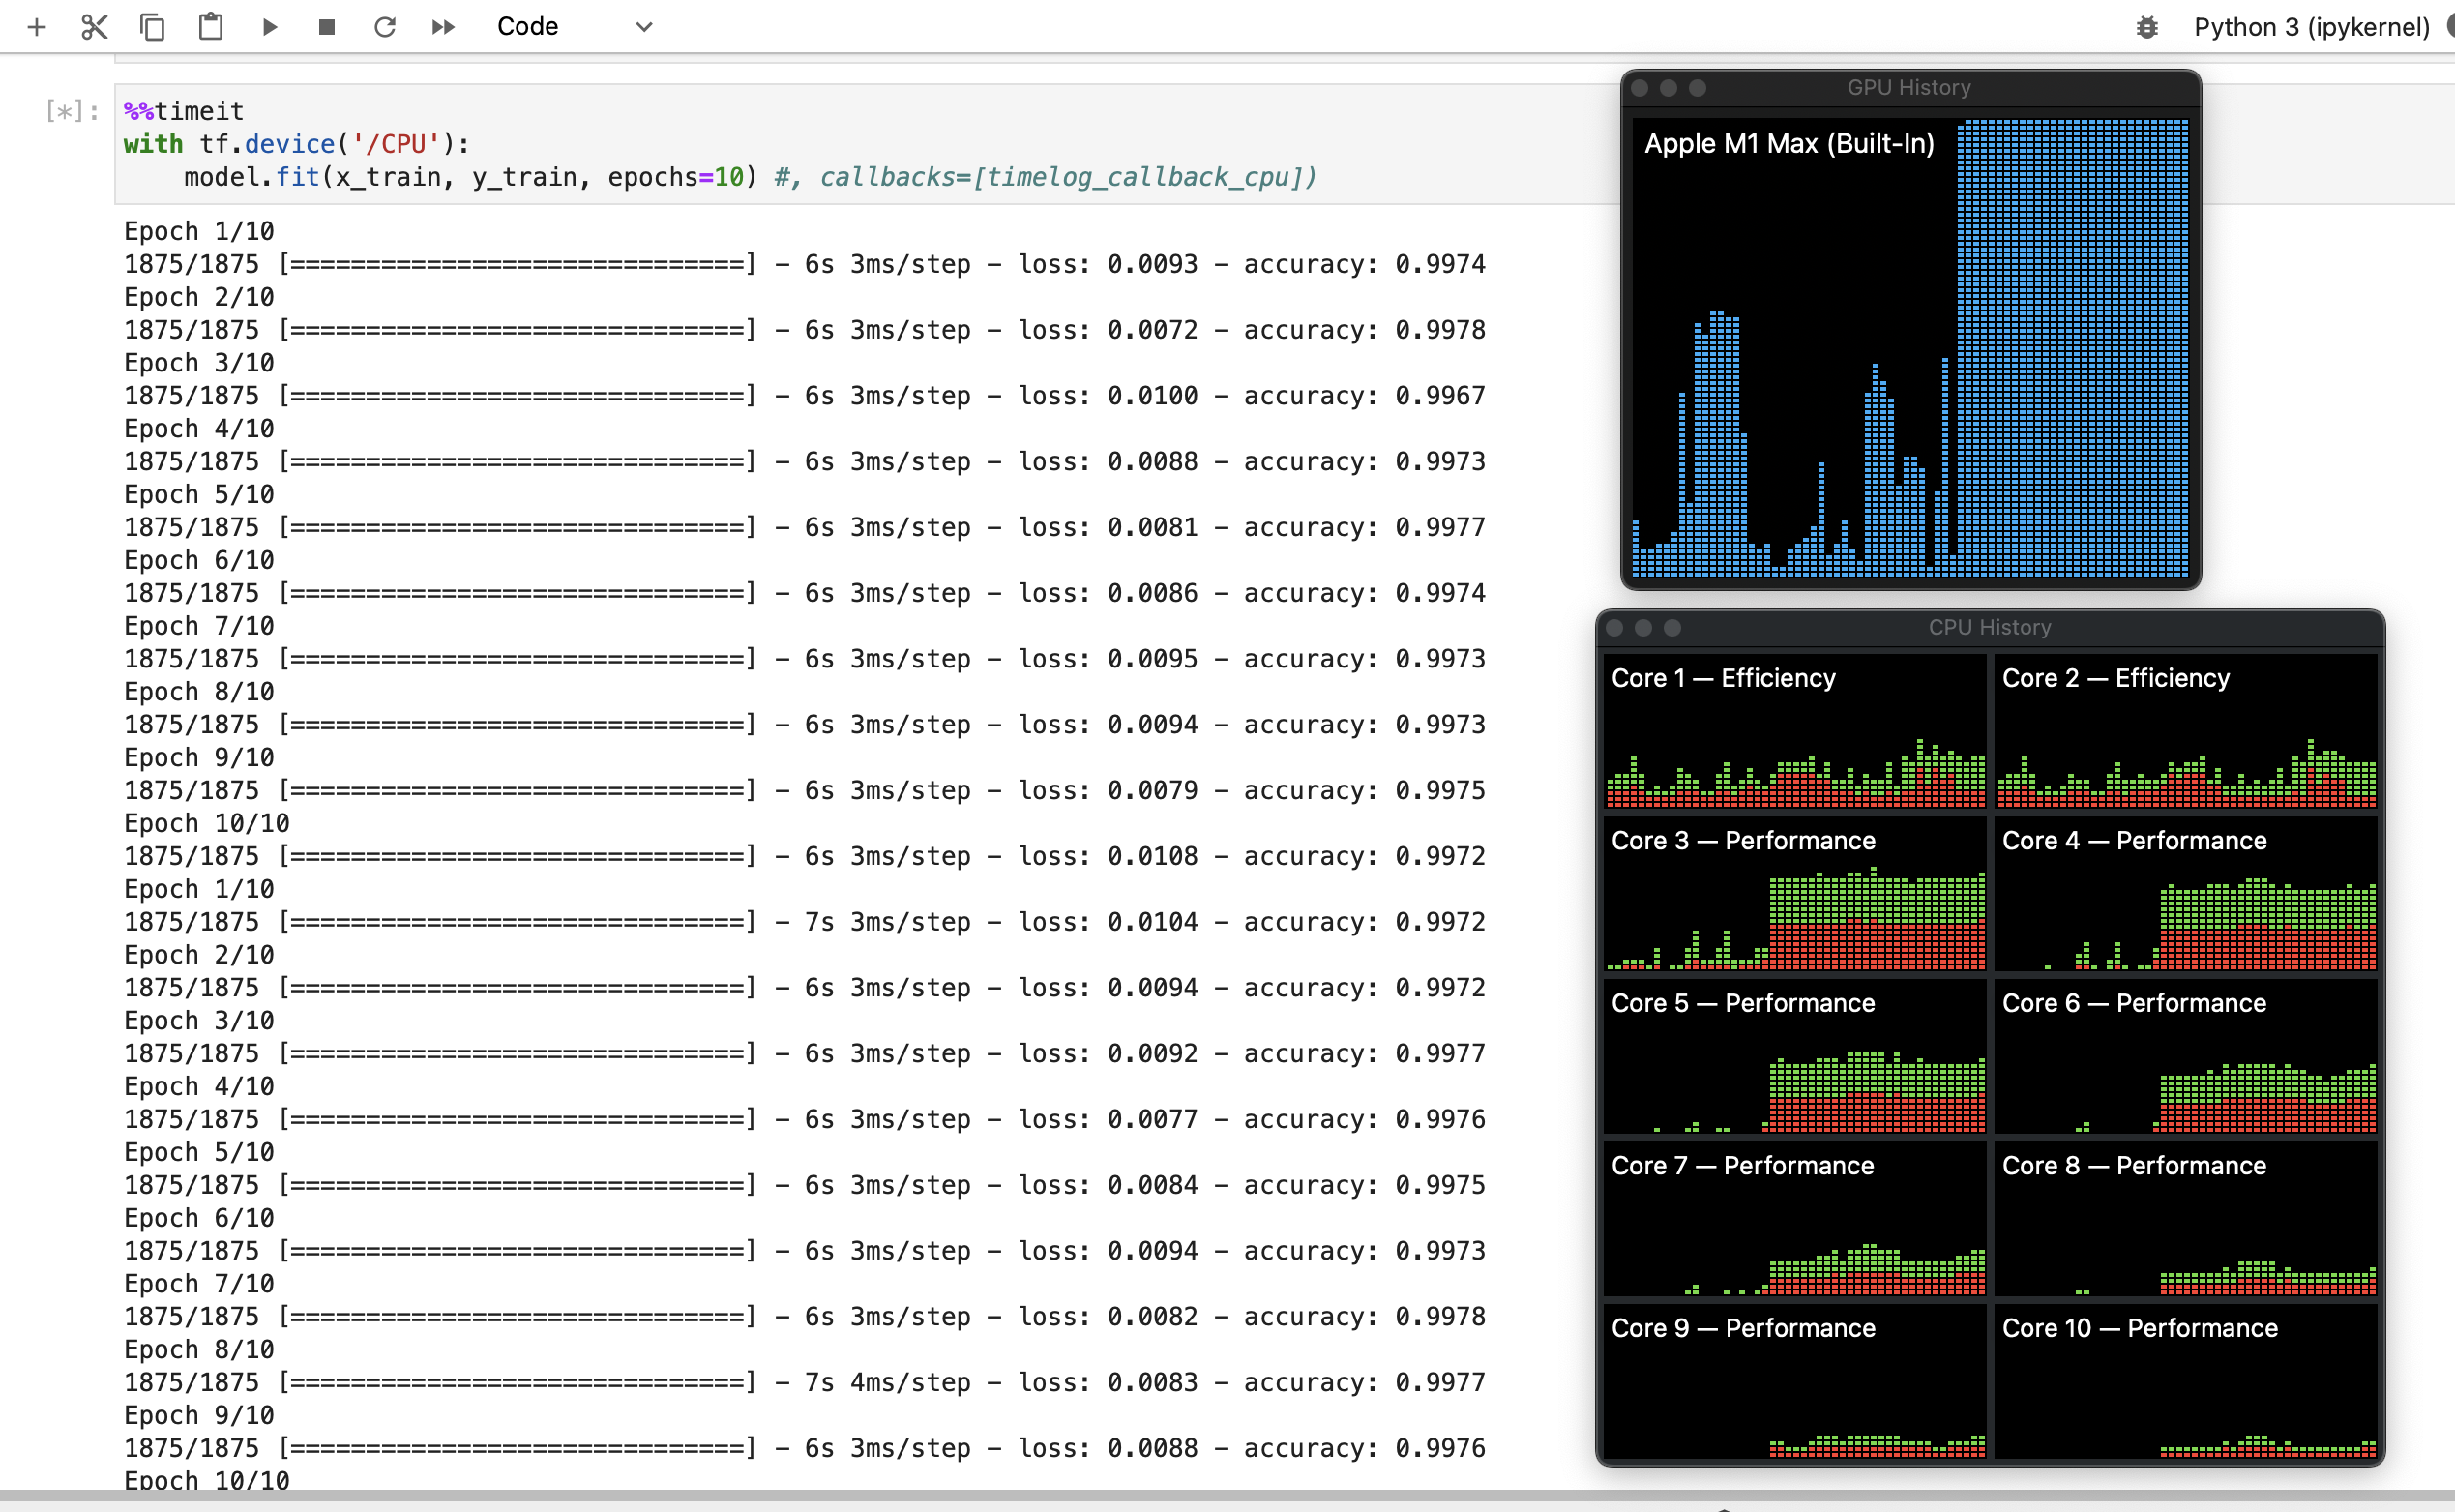
I run my code in a Jupyter Notebook, so I use cell timing with the magic function “%%timeit”
%%timeit
with tf.device('/CPU'):
    model.fit(x_train, y_train, epochs=10)
58.6 s ± 656 ms per loop (mean ± std. dev. of 7 runs, 1 loop each)
%%timeit
with tf.device('/GPU'):
    model.fit(x_train, y_train, epochs=10)
1min 24s ± 2.06 s per loop (mean ± std. dev. of 7 runs, 1 loop each)
Interestingly, training on a GPU device resulted in much higher time. When I looked up in Activity Monitor, GPU History, I have observed that GPU is 100% used when training on both devices. I think that there is some overhead issue with the GPU option, which I will talk about with an Apple expert.
Common TensorFlow M1 Installation Errors and Fixes
Resolving “PackagesNotFoundError: tensorflow” on conda install
The default Conda channels do not ship an arm64 TensorFlow build, so conda install tensorflow fails with PackagesNotFoundError. Install the Apple dependencies through the apple channel and the framework itself through pip:
conda install -c apple tensorflow-deps
pip install tensorflow-macos tensorflow-metal
Resolving “zsh: command not found: conda” after Miniforge install
This error means Miniforge was not added to your shell PATH. Re-run the initialization and restart the shell:
source ~/miniforge3/bin/activate
conda init zsh
Conclusion: TensorFlow on M1 with GPU Acceleration
To sum up, we installed Xcode, Homebrew, Miniforge, and TensorFlow on a macOS M1 computer. To check that everything works, we created a Sequential neural network and benchmarked its performance on the MNIST dataset. TensorFlow on M1 is a GPU-accelerated machine learning setup that requires Apple’s arm64-native tensorflow-macos and tensorflow-metal packages rather than the generic pip build; for small models the CPU can still outpace the GPU because of memory-transfer overhead.
TensorFlow on M1 FAQ
How do I install TensorFlow on an Apple Silicon (M1) Mac?
Install Xcode and Miniforge, create a Conda environment with conda create --name tensorflow_m1 python==3.9, then run conda install -c apple tensorflow-deps, pip install tensorflow-macos, and pip install tensorflow-metal. The tensorflow-deps and tensorflow-metal packages are Apple’s arm64-native build path; the generic pip install tensorflow package is not optimized for M1.
What is the difference between tensorflow-macos and tensorflow-metal?
tensorflow-macos is Apple’s arm64-native build of the TensorFlow core. tensorflow-metal is a PluggableDevice plugin that routes operations to the M1 GPU through Apple’s Metal API. You install both: the core runs the framework, the metal plugin enables GPU acceleration.
Why is TensorFlow training slower on the M1 GPU than the CPU?
For small models like an MNIST classifier, GPU execution can be slower than CPU because data-transfer overhead between CPU and GPU memory outweighs the parallel-compute gain. In my MNIST test the CPU finished in 58.6 s versus 1 min 24 s on the GPU. GPU acceleration pays off on larger models and batch sizes, not tiny networks.
Why does conda install fail with PackagesNotFoundError for tensorflow on M1?
PackagesNotFoundError: tensorflow happens because the default Conda channels do not ship an arm64 TensorFlow build. Use the Apple channel for dependencies (conda install -c apple tensorflow-deps) and install the framework itself with pip (pip install tensorflow-macos tensorflow-metal).
Did you like this post? Please let me know if you have any comments or suggestions.
Posts that might be interesting for youRelated Reading
Enjoyed this? Get more like it.
Weekly notes on AI tools, Python, and what I'm actually building — plus a free copy of Fantastic AI: The 2026 Toolkit.
